Before I forget what I did, I’m infodumping how I personally (eventually) got MechCommander Gold (MechCommander 1 + Desperate Measures expansion) singleplayer running nicely on my own Windows 10 system.
These instructions were written for me-and-friends with that level of detail in mind. No effort has been made in the instructions to support any other OS, including Windows 11, so I have no idea what happens if you try these steps elsewhere. This information largely duplicates / collates information that you can already find elsewhere and is minimally unique.
tl;dr
- Download the MechCommander Gold .iso file, then mount the .iso file (you’ll need this mounted whenever you play)..
- Download “pre-installed” MechCommander Gold files. Unzip them wherever you want (they don’t need to be on a root drive as suggested, though you may want to avoid permission-gated folders like Program Files, idk).
- Choose your resolution and use the associated exe when playing. For other resolutions, update the two bytes at 0x10E7B and two bytes at 0x10E80 in the game exe.
- Set your chosen game exe to run with compatibility mode set to Windows XP (SP2), reduced color mode set to 8-bit (256) color, and run as an administrator.
- To prevent (most?) Access Violation Errors that periodically happen (especially when edge-panning into the corners of your screen), use DxWnd with starting position of 0,0, window size of 640×480, “Desktop” selected, and proxy DirectDraw (ddraw).
- To play the game, run the game exe you previously chose and configured.
1: Get MechCommander disc .iso file
MechCommander’s installer is 16 bit and so doesn’t run on 64 bit systems.1 Thankfully you don’t need to use it, but you still need the “disc” present while playing.
Download the MechCommander Gold .iso file, then mount the .iso file (you’ll need this mounted whenever you play).
2: “Install” game files
Download “pre-installed” MechCommander Gold files. Unzip them wherever you want (they don’t need to be on a root drive as suggested, though you may want to avoid permission-gated folders like Program Files, idk).
3. Choose resolution
MechCommander by default will run at 640×480. The “combat phase” part of the game where you control mechs can be run at a higher resolution, but the menu (including the “logistics phase” where you configure mechs) is stuck running at 640×480 until someone cares enough to take the time to resize the UI components and rewrite the code rendering them.
This means that even if you can run at a very high resolution like 1920×1080 or 2560×1440 you may want to still choose a lower resolution.
You’ll now need to choose what resolution to play at. I personally heartily recommend 1280×720 if you’re playing on a 1440p monitor, as this keeps the logistics-phase and combat-phase UI (both of won’t scale up) a usable size. Because the resolution will be exactly half of your monitor’s true resolution in each dimension, everything will able to scale up nicely (every 1 in-game pixel can be shown on exactly 4 of your monitor’s pixels, meaning no loss of sharpness). I’m not sure what to recommend for other resolutions.
Some systems will have difficulty running at “high” resolutions beyond 1440×900 or so – I don’t know why. My own system didn’t like running the game at 1600×900. It may end up being the case that you can’t run one of the high resolutions that you had hoped for and will have to settle with something more more moderate.
The files you just unzipped come with pre-patched exes for the resolutions in the respective game exe file names. There’s a good chance your preferred resolution is not one of those supplied, but this is easily remedied.
The only difference between the pre-patched “resolution exes” is four bytes within the exe, and these bytes can be manually updated to change the game’s render resolution. Copy any of the existing “resolution exes”, then open the copy using a hex editor.
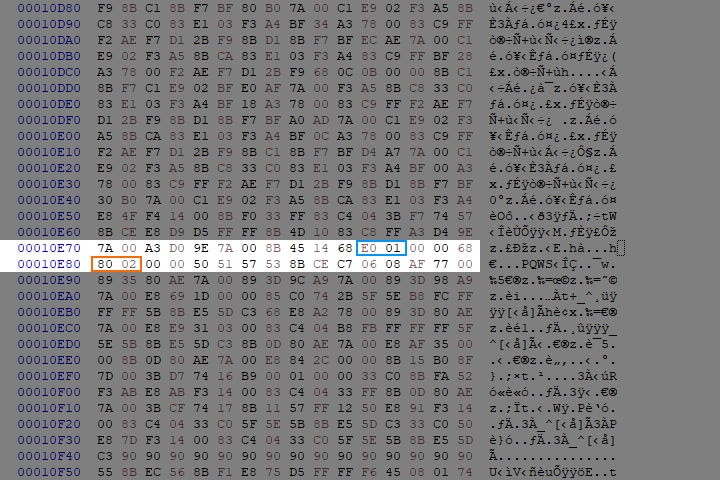
At hex addresses 0x10E7B and 0x10E7C are the two bytes for vertical resolution, and at 0x10E80 and 0x10E81 are the two bytes controlling horizontal resolution:
- 0x01 joined with 0xE0 = 0x1E0 in hex, which is 480.
- 0x02 joined with 0x80 = 0x280 in hex, which is 640.
The order of these bytes is little-endian. To change the game’s render resolution to e.g., 1280×720:
- Convert the numbers to hex (1280 x 720 = 0x500 x 0x2D0).
- In little-endian order, replace the bytes at the specified addresses with your new bytes (0xD0, 0x02 and 0x00, 0x05).
- Save the modified file. Once you’ve chosen a file name, stick with it to prevent having to redo step 5.
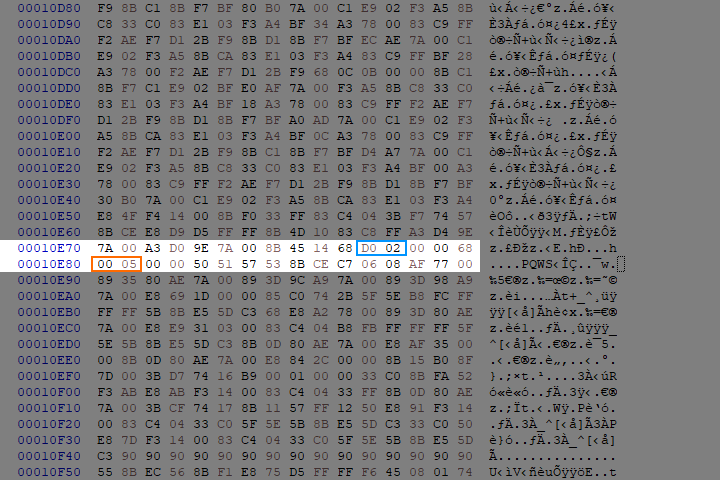
To confirm, here are what the four bytes should look like if you’ve just patched it to render at 1280×720:
I suggest not starting with a too-high value for your resolution, even if you eventually want to use one. Start with something modest, make sure the game works (step 6), then re-patch the render resolution to whatever it is you actually want once you know that the game already works. If you start off with a high res and the game doesn’t run, you won’t know whether the problem is your chosen resolution or something else.
4. Windows compatibility settings
For the exe you’re planning to use, set these compatibility options:
- Compatibility mode: Windows XP SP2
- Reduced color mode: 8-bit (256) color
- Run this program as an administrator
Some users on some systems may now be able to play through the game from start to finish with no crashes. I thought that was me until I started crashing with increasingly infuriating frequency in later campaign missions. I personally found that trying to edge-scroll to the bottom-right corner of my screen would randomly crash the game sometimes. Sometimes the game would just randomly crash even when I wasn’t doing that.
5. Optional: Use DxWnd to prevent Access Violation Error crashes
Download DxWnd.2 Extract the files wherever you want them, then run dxwnd.exe as administrator.
- Edit -> Add, then in the popup window, select the path to your chosen game exe. You can change the name if you want.
- The default “Generic” options should be fine.
- In “Position” options, change Window initial position to 0,0 (X = 0, Y = 0) with a size of 640×480 (W = 640, H = 480).
- In “Position” options, select the “Desktop” option from the radio buttons.
- OK (closes the popup window). DxWnd will now show an entry for your game exe.
- Options -> enable Extended mode.
- Right-click the DxWnd entry for your game exe -> Proxy -> ddraw -> Yes -> OK. Some new files will be added to your MCG directory.
- Close DxWnd and you’ll be asked if you want to save the list of tasks. Say Yes.
Finishing this step may undo your step 4 compatibility options – that’s okay, as having DxWnd set up this way means we shouldn’t need them.
6: Play the game
Run your chosen game exe to play the game. Your game should run at the resolution you’ve chosen once you’re in the combat phase, and the size of the menus / logistics phase will reflect your resolution choice too. Ideally it should also barely (if ever) crash.
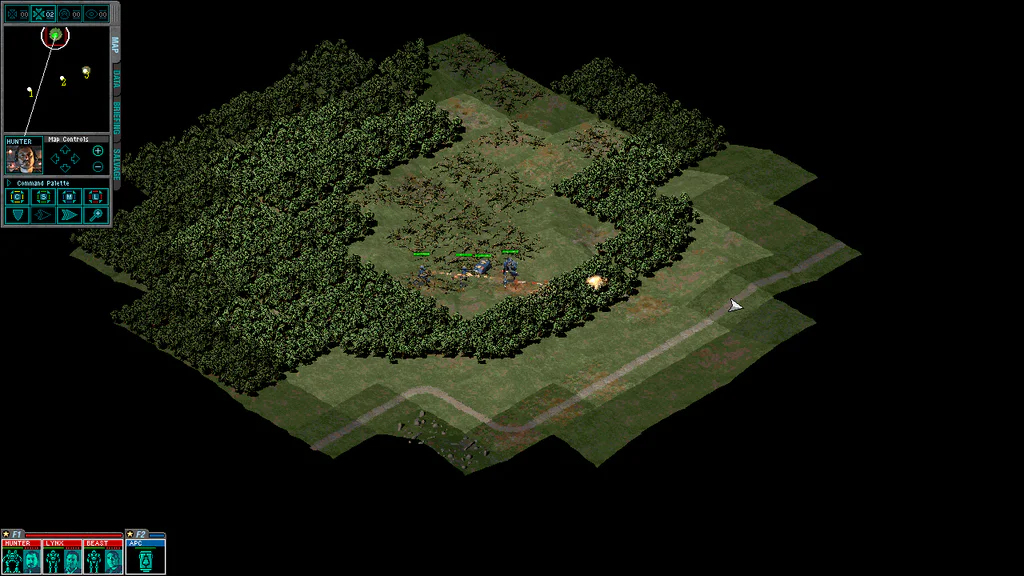
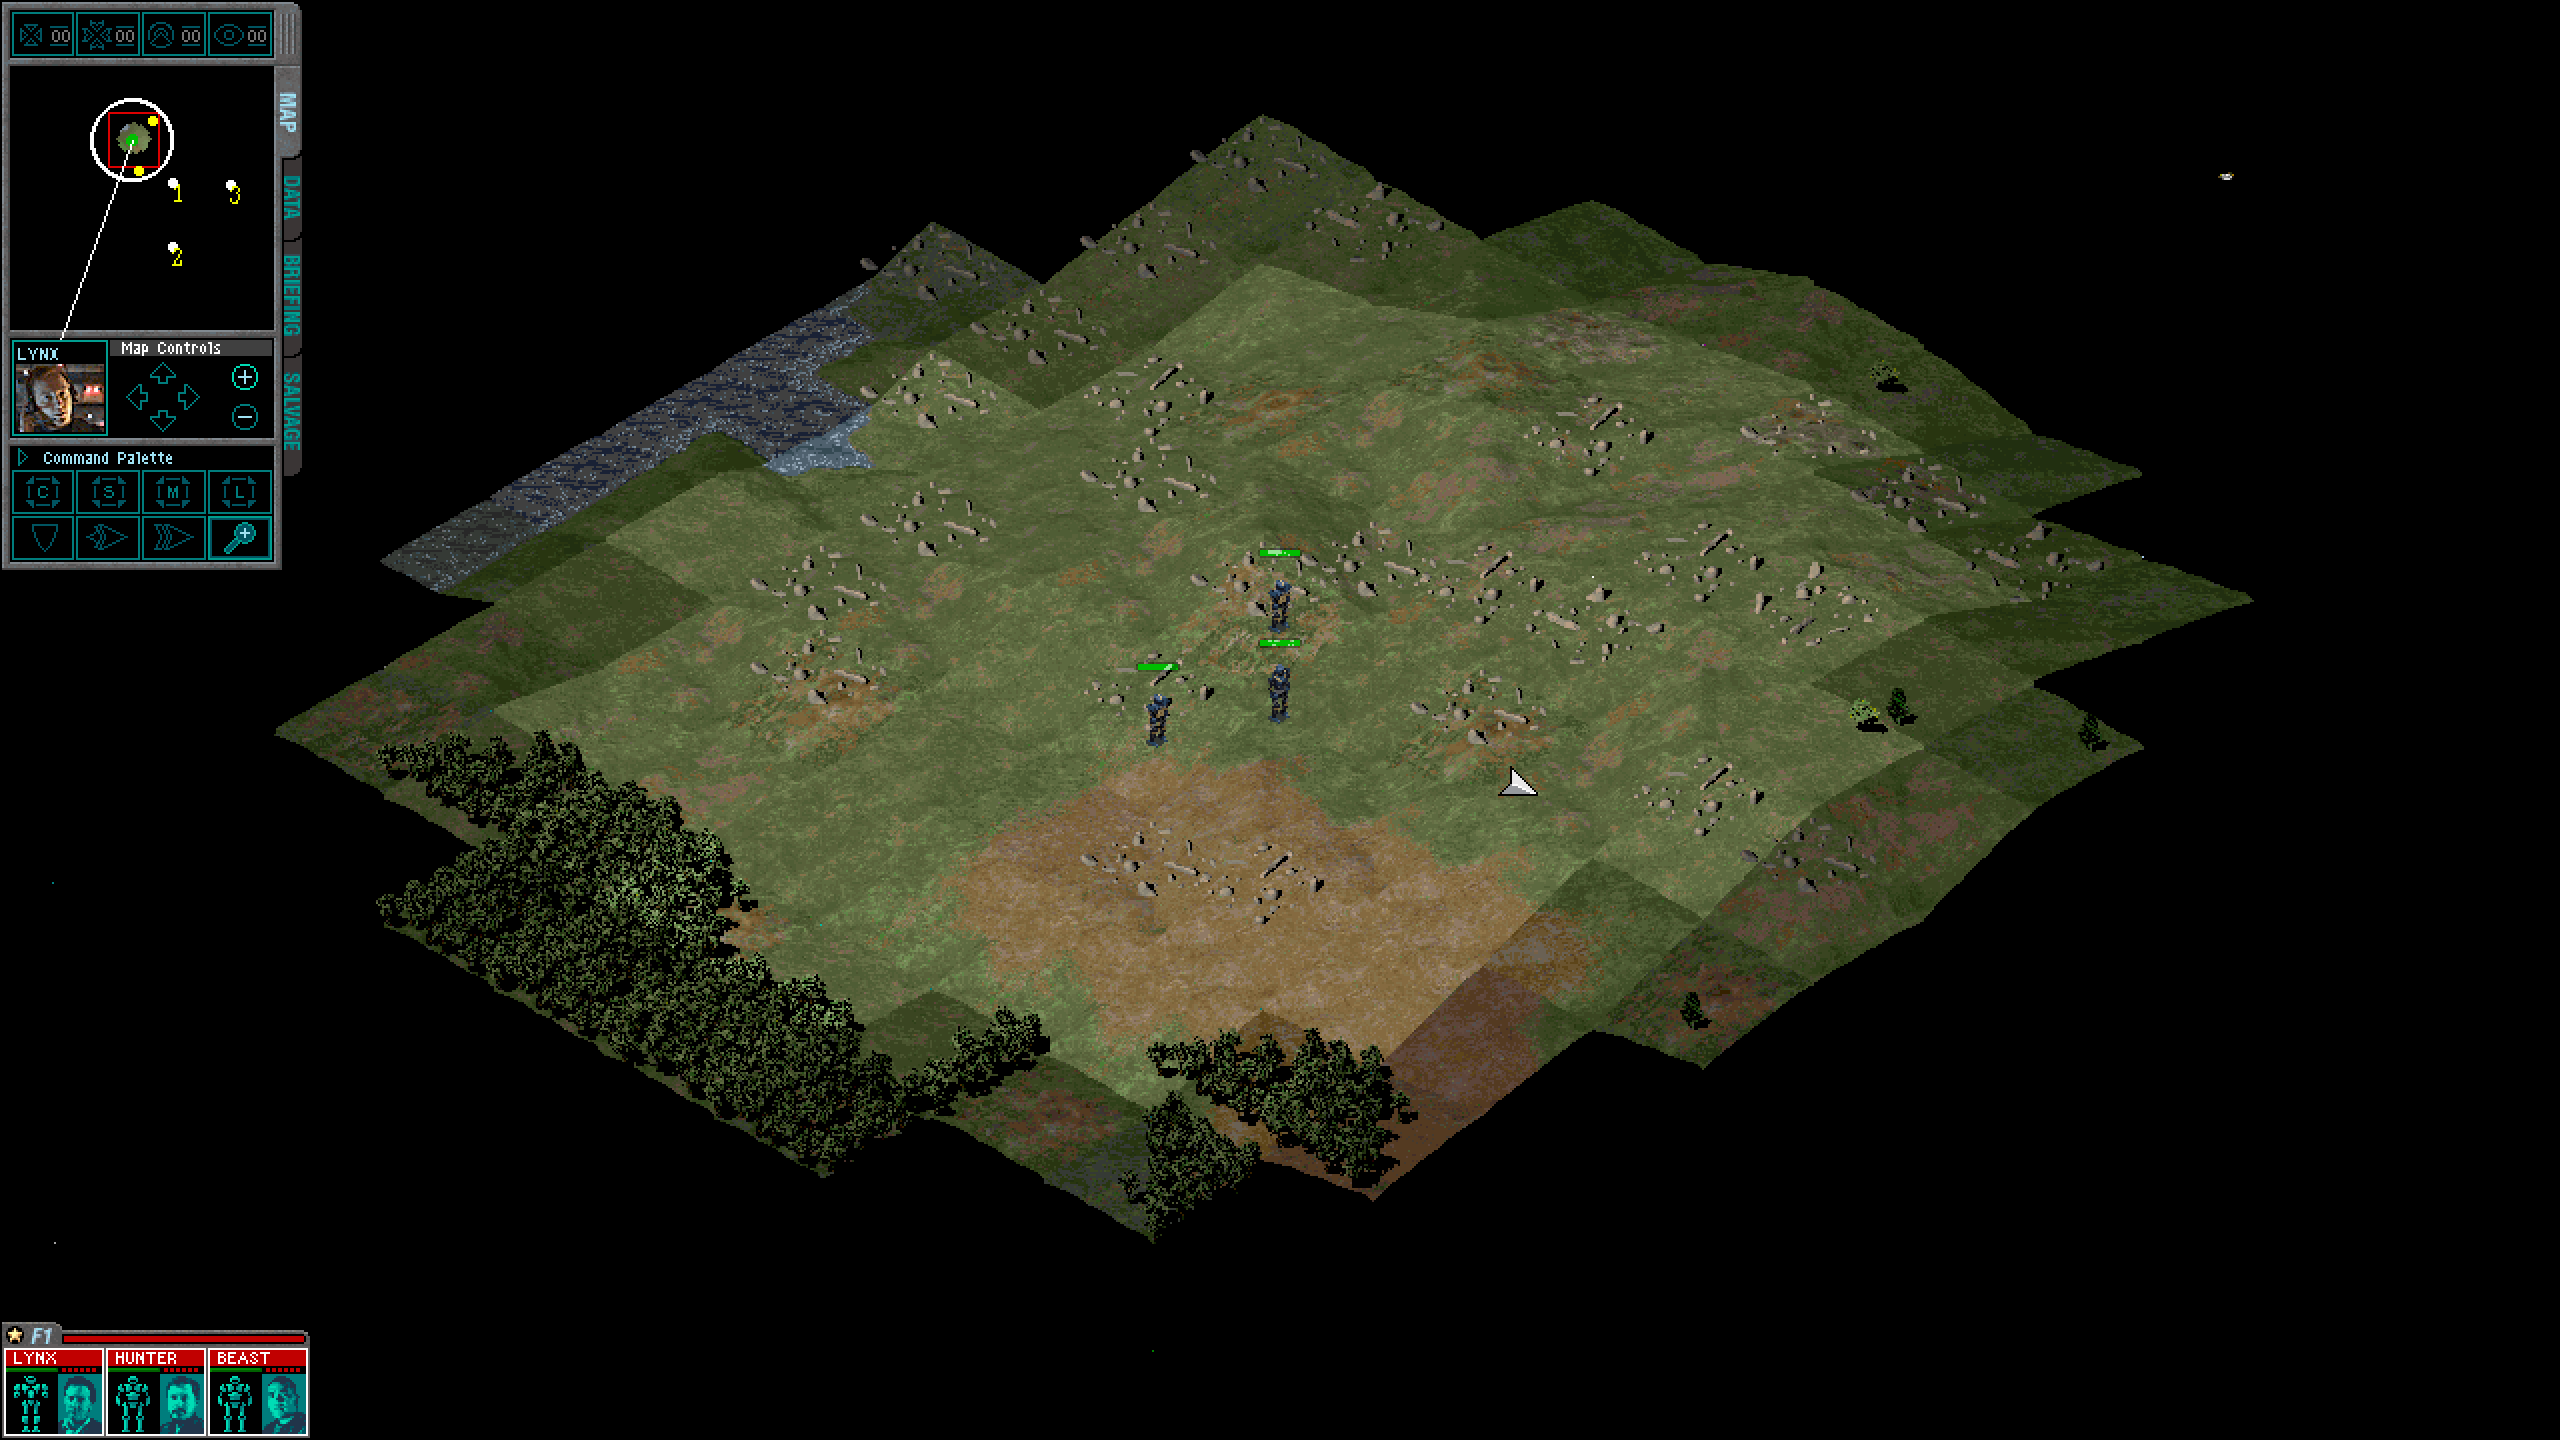
Welcome to Port Arthur, sir.
MCG includes 3 cinematics excluding the mission briefing videos (two from MC1, one from Desperate Measures). In my experience, these will have janky playback in-game after completing these steps (if you want to view them properly they’re on YouTube, or you can use RAD’s Bink video player to watch locally) and the game may crash to desktop when playing the credits at the end of the game.3 In my opinion this is an excellent tradeoff for not crashing while playing the game itself.
You may also be interested in:
- What’s up with the Command and Uller (Kit Fox)’s movement speed in MechCommander? (by me)
- Something seems horribly, horribly wrong with LB-X Autocannon damage in MechCommander (by me)
- MechCommander Gold Official Strategy Guide
- Game info / tutorials – weapon and mech stats, strategy etc (by misc contributors)
- Fan-made campaigns / missions by RizZen (and other contributors?)
- (mostly) Fan-made modding tools and documentation by RizZen and other contributors
- MechCommander 1 – one mech challenge run (by Nutritious)
That’s fantastic! I’ve struggled with getting older strategy games running smoothly, so it’s really helpful to see someone else’s successful setup.