Michael’s twin brother Andrew was after a super solid gaming PC during the Black Friday – Cyber Monday period. The budget was scoped out to be about $2,000. This turned out to be pretty convenient timing for me, as I already had a parts list handy for a ~$1,500 gaming / general use PC. I used that parts list as a base and got to work.
Given the extra budget, I looked around on the list at where I could make part substitutions that increased performance roughly proportionately to the increased price. This was a nearly-strictly gaming-focused build, and the performance of parts were considered within that context.
Base config recap
It may be helpful at this point to quickly recap what the “base configuration” I had to work with was:1
| Component | Model | Cost |
|---|---|---|
| CPU | AMD Ryzen 5 3600 | $267.75 |
| CPU cooler | be quiet! Pure Rock | $49.00 |
| Motherboard | MSI B450M Mortar MAX | $145.00 |
| RAM | G.Skill Ripjaws V 16GB (2x8GB) DDR4 3200/C16 | $84.15 |
| GPU | MSI GTX 1660 Ti 6GB Gaming X | $412.25 |
| Primary storage | Crucial P1 M.2 NVMe 1TB | $140.25 |
| Secondary storage | WD Blue 4TB | $155.00 |
| Case | be quiet! Pure Base 600 | $109.00 |
| PSU | be quiet! Pure Power 500W | $99.00 |
| Extra intake fan | be quiet! Pure Wings 2 140mm | $16.00 |
| TOTAL: | $1477.40 |
CPU and CPU cooler
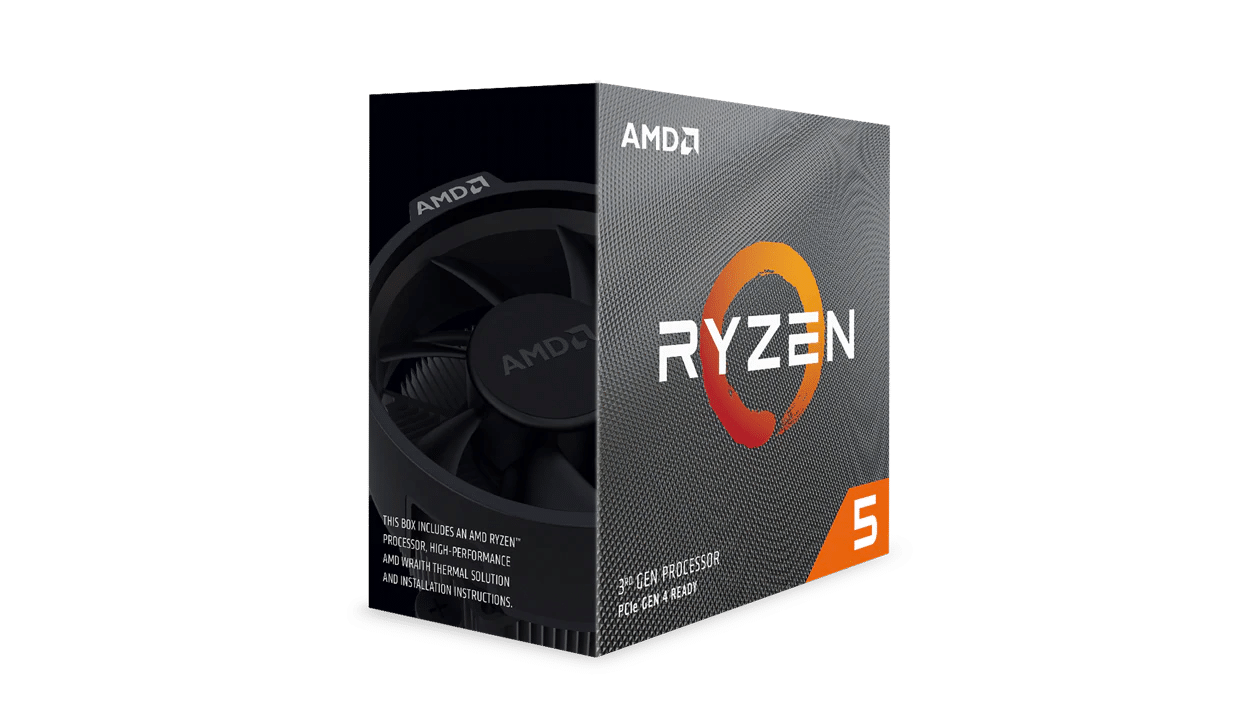
Starting at the top of the list, I looked at alternative CPU options. Moving up to the 3700X would be around a couple hundred more, but that offered only two and a half percent extra gaming performance.2 The i5 8400 and 9400F were actually par with a Ryzen 3600, but the former is retailing for just as much (for reasons unclear), and I didn’t think the latter’s $90 cost savings were worth the dip in multi-threaded performance.
This is only an educated guess, but with both the upcoming PS5 and the next Xbox using 8 core / 16 thread CPUs based on Zen 2 (the same CPU architecture used in the Ryzen 3000 series), I expect that moving forward, 6C/6T CPUs will become modestly outpaced by 6C/12T CPUs in general gaming performance. Particularly ones built on the same architecture as the next-gen consoles, as there might be minor performance freebies due to that fact.
Best value is all a matter of degrees and optimisation. $200 is too much, or 1% performance is too little. In this case the 3600 looked like the sweet spot CPU-wise for the build.
With a cross-check against what each extra percent of performance cost when coming from a better GPU, the 3600 was locked in as the CPU of choice.
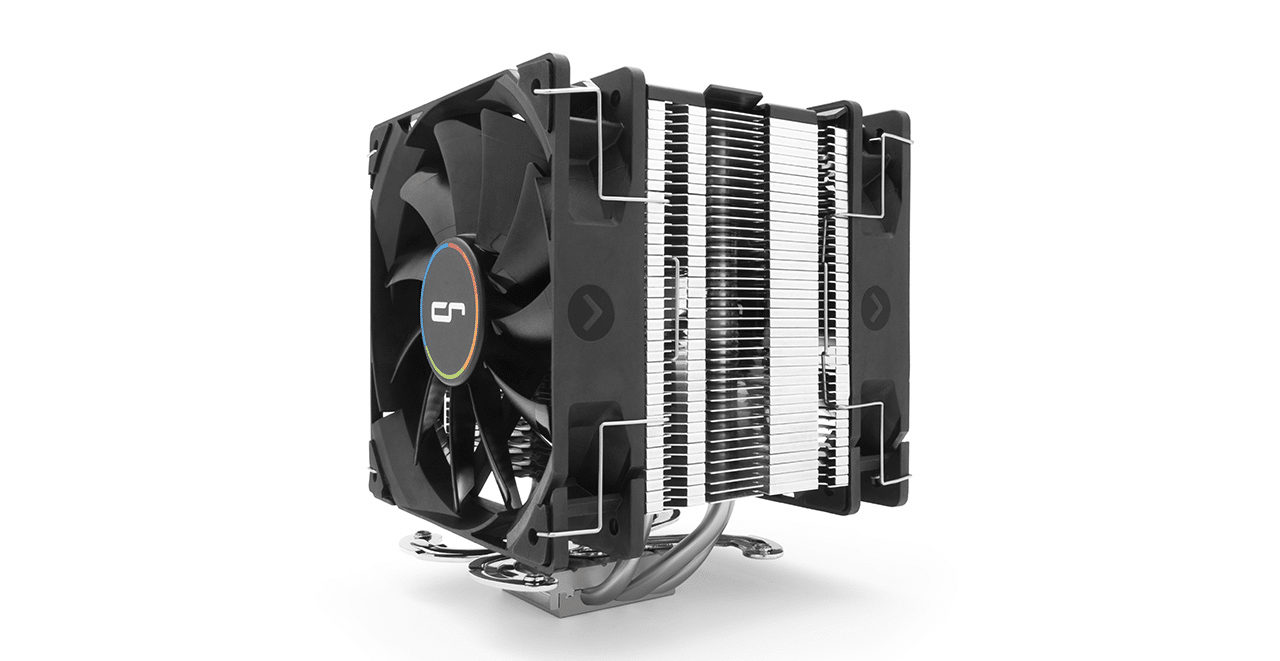
Changing the CPU cooler was something I only examined fairly briefly, but I knew that better cooling could reliably net another 0.5-1% extra performance,3 with the possibility for perhaps up to double that. If I could get an upgrade over the be quiet! Pure Rock on the cheap it would be worth doing with the extra budget. At some point it was decided the whole set of parts would be coming from PCCG (who is coincidentally my preferred parts provider at present, albeit not necessarily the best choice during sale periods), which meant a quick scroll through of their CPU coolers sorted by price.
There are a few options that might be better if you’re after bling or best-in-class acoustics, but the dual-fan Cryorig H7 Plus for only an extra $20 is exceptional value. I remain a little surprised that this cooler is going for as cheap as it is, since it performs as well as some AIO 240/360 rads (!!!!!! this is honestly absurd), while maintaining good acoustics. If this sold for 50% more it might still be worth considering.4 Acoustics were of some value, but “good – very good” is plenty and bling wasn’t important.
On top of that, it’s actually a somewhat compact unit, and the heatsink design is offset to one side so that it’ll basically never interfere with RAM slots. H7 Plus locked in.
Motherboard and RAM
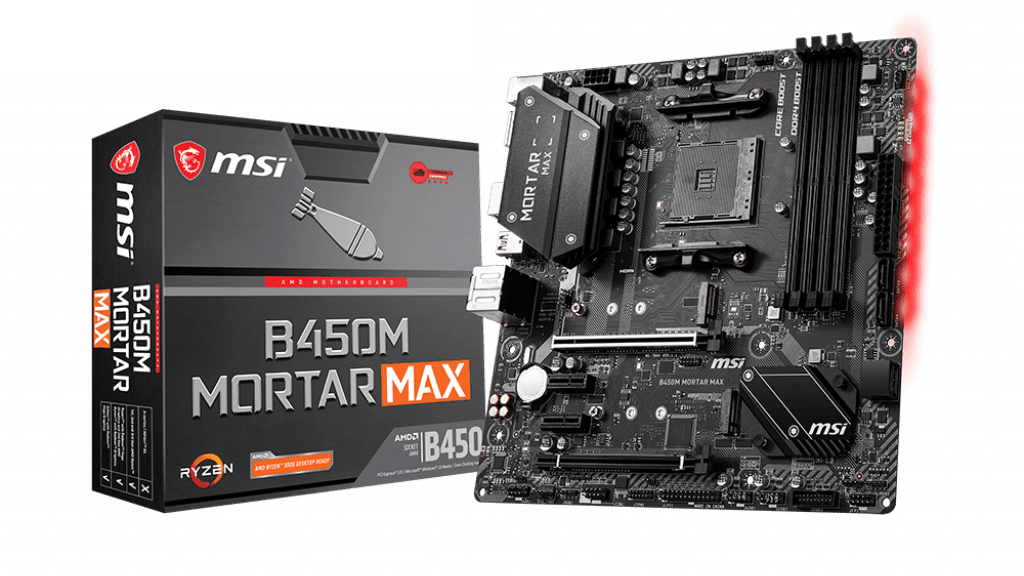
For anyone who A) isn’t me and B) doesn’t have an existing Ryzen CPU on hand to do a BIOS flash, my current preferred “generalist” brand/series for B450 motherboards is MSI’s MAX refresh. These were actually made with bigger BIOS chips due to 3rd gen Ryzen apparently using enough extra space in microcode / whatever updates that caused MSI’s original B450 BIOS chips to run out of space. That’s actually barely at all important to us here though, as the main reason I singled out the MAX refresh is actually because they ship guaranteed with a 3rd-gen Ryzen compatible BIOS out of the box – which saves having to pull out someone else’s CPU just to get a BIOS flash done.
MSI’s B450 range tends to have better VRM design than competing boards in its generation, with an as-good or better featureset-vs-price as well. All in all I think they’re basically the best choice for a B450 board unless you need a specific feature (e.g. an Intel NIC) or are shopping at one of the price extremities.
Better VRMs are nice for overclocking, but they also mean you can expect better longevity from the components, plus a better upgrade path if you want to stick in a more power-hungry chip later on since you won’t be over-stressing those components. Flexibility is generally slightly overvalued in custom builds by most builders (I used to fall prey to this a lot when I was a novice builder), but when you can get it at no extra cost then there’s no reason not to.
As for which specific motherboard to choose, I compared a few other MSI MAX boards to see what an extra $50 or so might get. Turns out the answer was little to nothing beyond (sometimes) even better VRMs, which are ultimately superfluous for non-overclocked builds once you reach a certain point. Some of the more expensive options even shed RAM slots5 or the USB Type-C port, so I stuck with the original option.
RAM is pretty uneventful if you’re not shopping for looks or best overclocking performance. You basically just want to find a high speed kit that with acceptable latencies at the capacity of your choice with the lowest price.
The G.Skill Ripjaws V kit I has previously selected was out of stock at the ebay store, but since Andrew wanted to grab everything from PCCG anyway I guess that ultimately didn’t matter.
I hopped over to PCCG’s list of DDR4 memory and filtered to 16GB (2x8GB) kits, sorting by price and checking out the ones that were at least 3000 MHz.
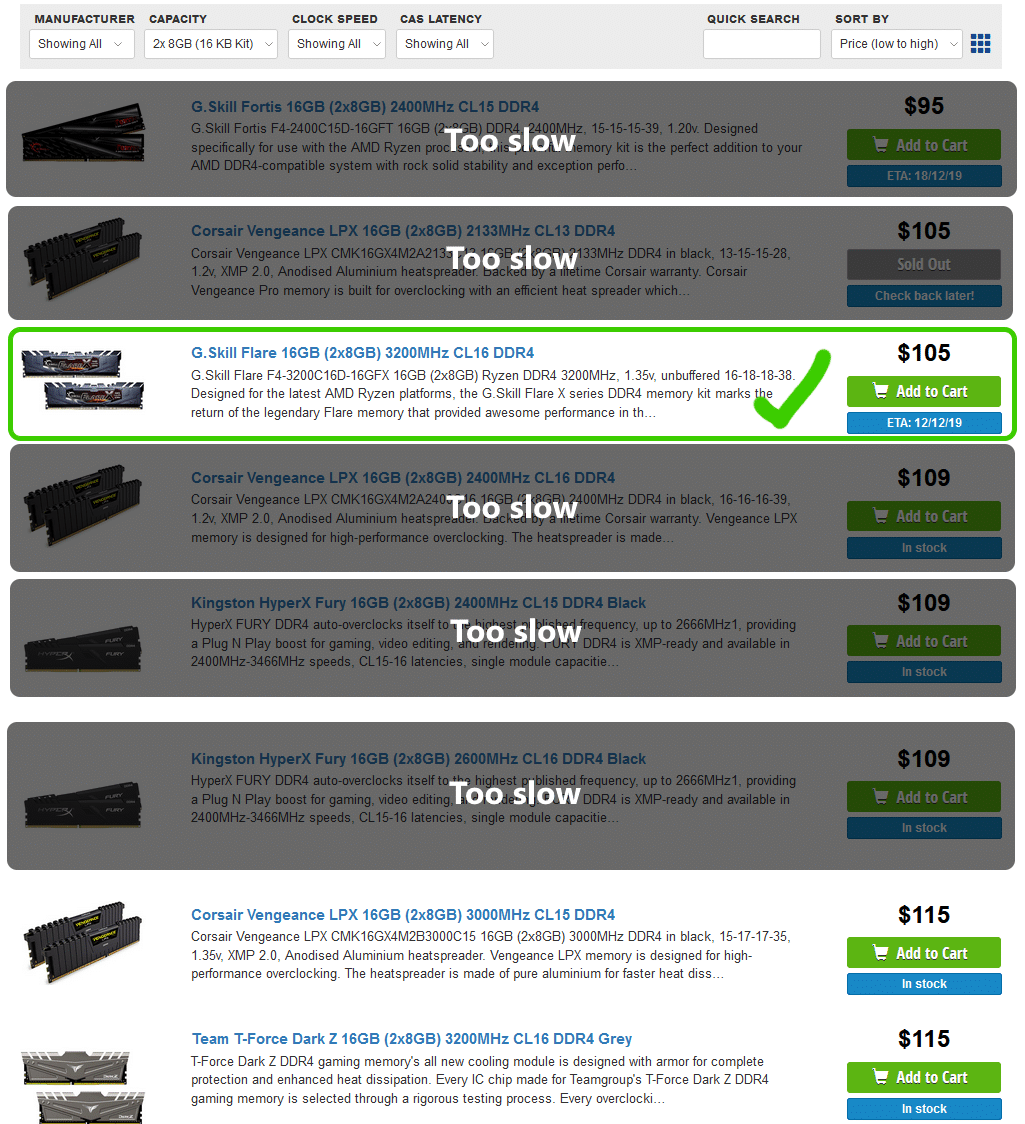
The best option was a G.Skill Flare 3200/C16 kit for $105 – $10 cheaper than any other kit in its performance tier. Unfortunately that wasn’t in stock, which wouldn’t work for us since Andrew wanted to be able to pick everything up and build it within the next day or two.
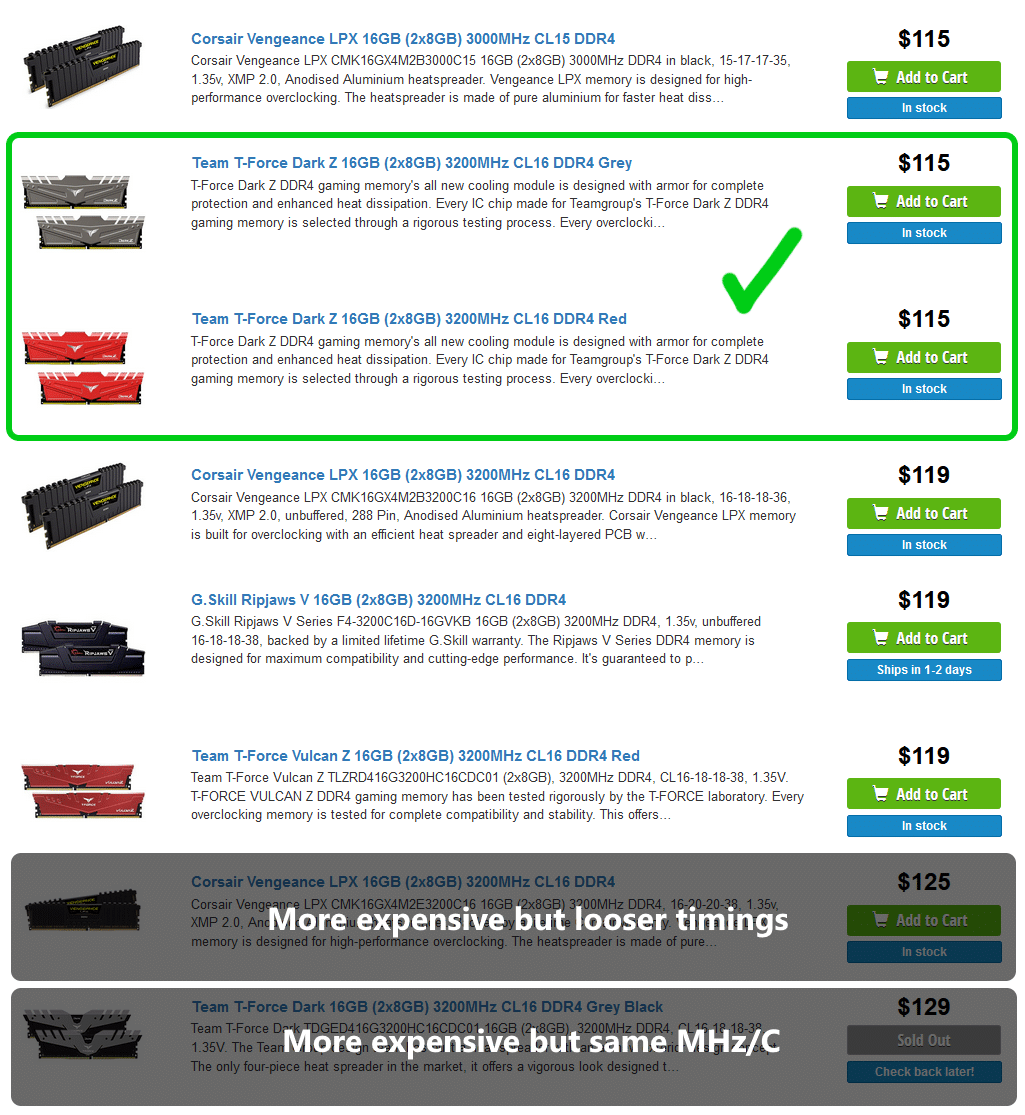
Scrolling down a little there were quite a few alternatives that would be levying a small convenience fee on us, and I picked out the Team T-Force Dark Z 3200MHz/C16 kits for $115. The Corsair 3000MHz/C15 kit would be slightly slower if the rank configuration and all the sub-timings were the same, while the other 3200MHz/C16 kits were slightly pricier. I went for the grey kit since there was no matching red on the motherboard etc, and the more neutral dark grey (which I will say looked better in-person than in the pictures) would probably fit in better aesthetically. Really I only spent all of 5 seconds deciding between the two colors though.
GPU
As a gaming-focused system, this would be the most important component for determining performance, and that meant that every time money was spent elsewhere, it would have to be cross referenced against “spending this amount of money could have instead gotten another X% of GPU performance”.
The base config parts list is in a different price bracket and had slightly different performance needs, so basically topped out at the 1660 SUPER / 1660 Ti (depending on whether a Ti was at a good price or not). I personally would be satisfied with that if this was my own build,6 but Andrew’s one of those people that prefers to not have to worry so much about upgrades.
Instead of recommending a single card, I instead opted to present a small range of options, all of which would be suitable given the price and performance requirements.
Referencing TechPowerUp’s most recent high-end GPU review, I set the performance floor at the RTX 2060 SUPER, which is around 35% faster in games than the 1660 SUPER / Ti. At the time there was a sale on the Asus ROG Strix variant for $599, and a weird double-sale on a bundle with the Asus ROG Aura Sync RGB Spotlight – an odd desktop peripheral that just outputs some adjustable RGB light of your choice. The “double-sale” meant that the bundle was the same cost as just the card by itself, and was thus selected as the 2060 SUPER option of choice. At the time of purchase, it was actually the cheapest 2060 SUPER available (and in stock) at PCCG, despite the Strix typically being amongst the most expensive cooler options.
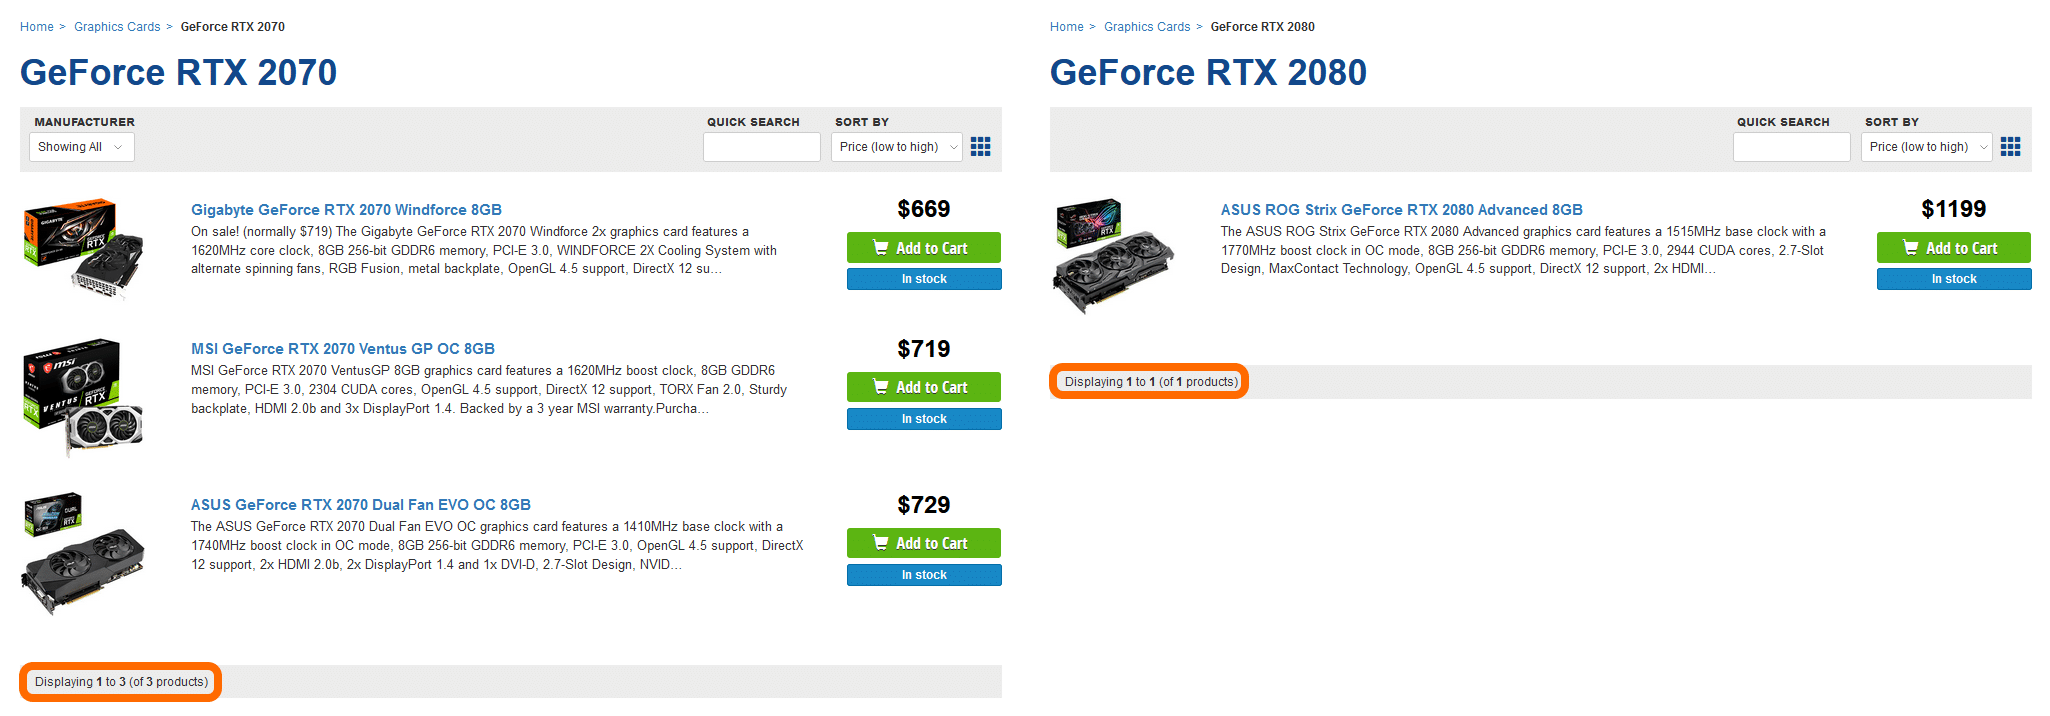
As higher performing alternatives, I picked out the RX 5700 XT (+7% performance), and RTX 2070 SUPER (+15% performance). The 2070 and 2080 (non-SUPER) were avoided due to an anemic selection of available cards (at PCCG) at prices that didn’t match their performance (not low enough vs the 2070 SUPER prices).
Having previously skimmed through basically all of the available 5700 and 5700 XT reviews to see the performance of the various coolers with regard to both temperature and acoustics, I was able to quickly identify the on-sale PowerColor Red Dragon (not to be confused with the more expensive Red Devil) as a good deal at $580.
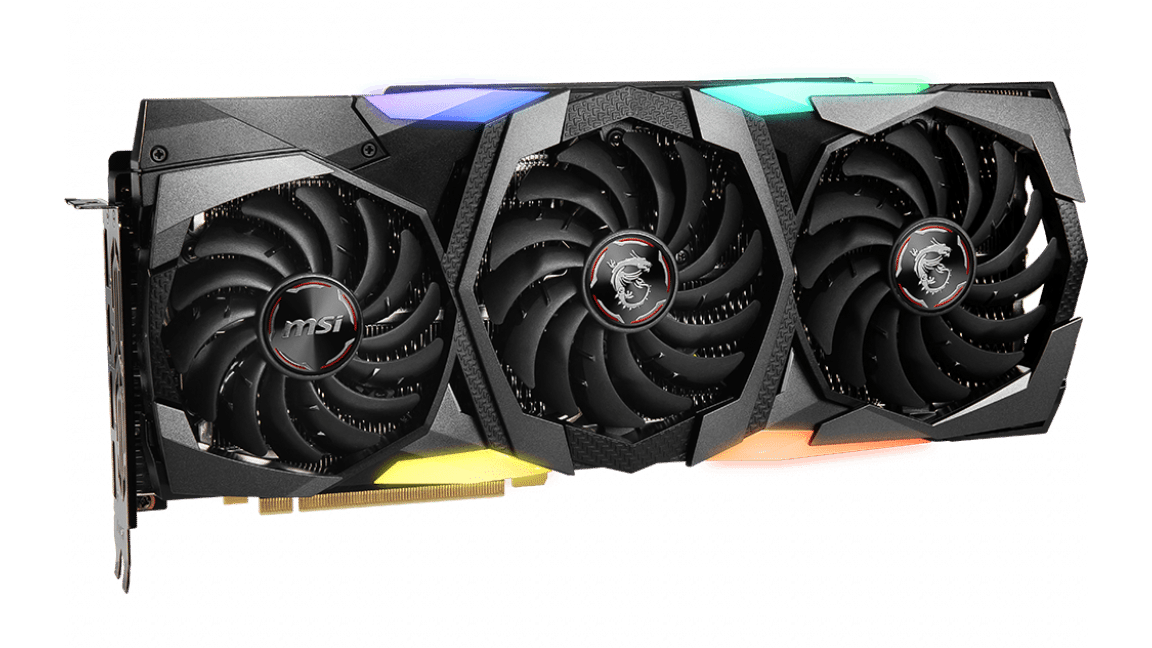
For the RTX 2070 SUPER option, the also-on-sale MSI Gaming X Trio immediately stood out to me and was selected since I knew it was an absolutely fantastic cooling solution. TPU’s review had me incredibly impressed:
“Gaming noise levels are UNBELIEVABLE. With 28 dBA, this is the quietest high-end card we’ve ever reviewed. Even at full load, it is barely audible—many cards are louder than that when they are sitting idle at the desktop.”
With the benefit of hindsight, I probably should’ve instead gone for the slightly cheaper (and also-also on-sale) Gigabyte Windforce OC, which would’ve saved $90 with only minimal hit on performance and acoustics. This was not an “SPCR-level” acoustics-focused build, so much like with the CPU cooler choice, “good” acoustics were perfectly adequate and MSI’s better cooler was actually of very little practical value for the specified build requirements. If the Gaming X Trio had been $30 or so more it would’ve been worth going for, but for a $90 jump it was unfortunately a missed opportunity for some cost savings.
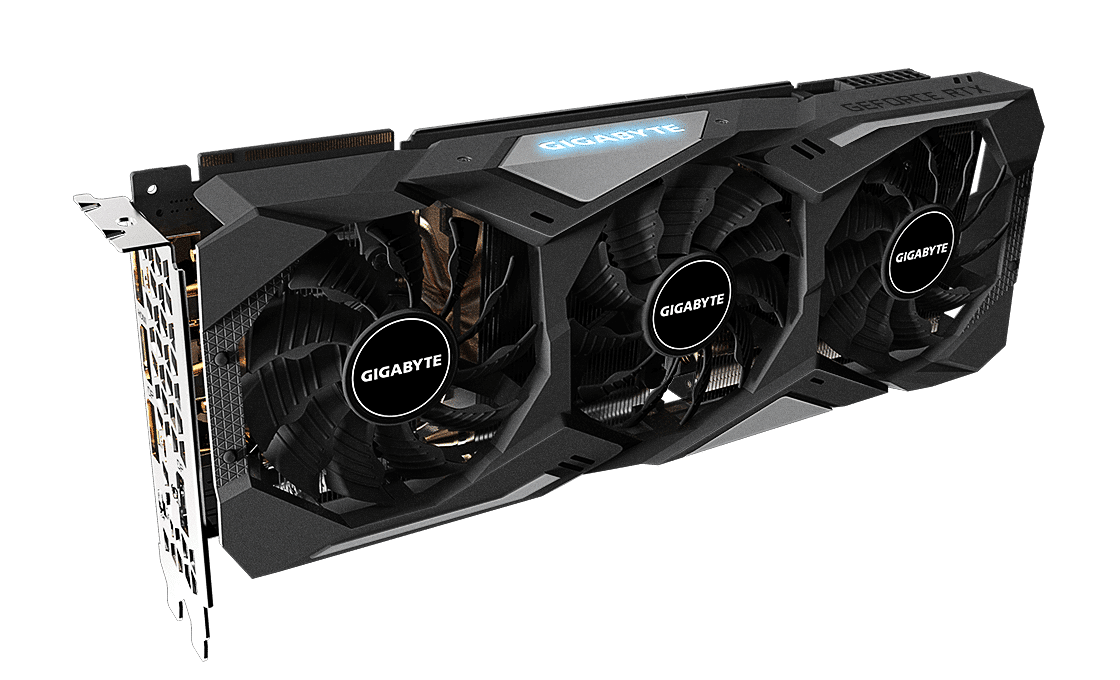
The reason I didn’t go for the Gigabyte card was due to uncertainly about the exact model vs reviews – recently Gigabyte has had a rather bad tendency to pump out a number of different, yet similarly named cards. These cards sometimes have extremely similar looking coolers that actually have different cooling performance. I didn’t want to trawl through reviews and spec sheets to figure out whether I was about to be duped or not as time was a factor.
However, now that I’ve had time to compare reviews vs listed specs and pictures, I’m about 85% sure the card listed on PCCG is the same card in the KitGuru review linked above, which is a high enough certainty that I would’ve probably recommended it for the build had I known it at the time.
Presented with the various options, Andrew chose the RTX 2070 SUPER for its higher performance, with the hope that he would be able to squeeze a bit more time out of the PC without needing to upgrade it or any of its parts. Again, not the best long-term value choice (unless you need that level of performance), but the client gets to decide that stuff based on their own preferences.
Storage
I briefly reviewed alternative SSD options, and also considered making use of AMD’s SSD caching with a smaller ~240GB drive, but my best read on Andrew’s preferences prompted me to stick with a full capacity SSD solution.
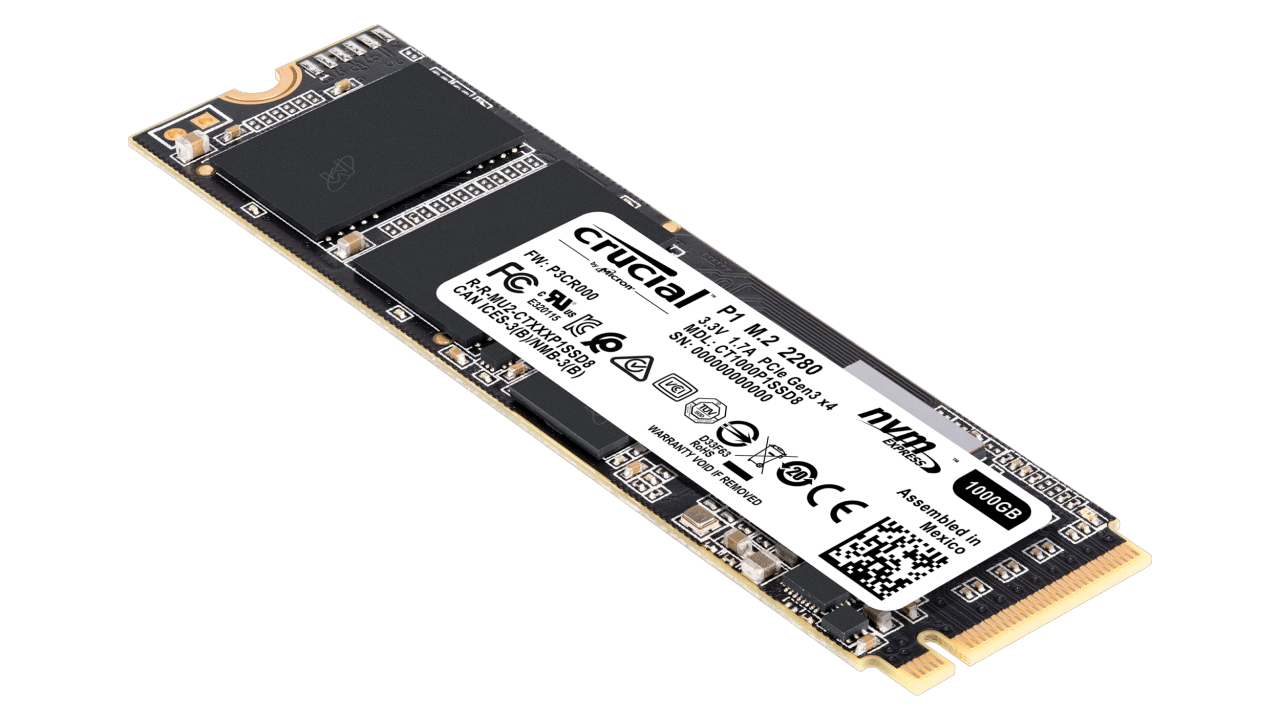
None of the other SSDs looked to be worth the extra cash at time of writing compared to the Crucial P1 since “good” performance for an NVMe SSD would probably be virtually indistinguishable from “very good” NVMe SSD performance for a basic gaming workload 99% of the time.
The somewhat slower SATA-based SSDs were not significantly cheaper, so it wasn’t hard to decide to stick with an NVMe drive. Both lower and higher capacity options didn’t look appealing based on $/GB, so I stayed with the base config here.
I actually allocated money for a storage drive in the build (a WD Blue 2TB in this case), but Andrew apparently didn’t think he’d need that extra storage at all so we dropped it from the final purchase. There’s always the option to add a drive later on if needed.
For anyone who cares more than zero about acoustics (and especially those with large primary SSD storage) I tend to recommend lower RPM drives when choosing secondary storage, hence the choice of the WD Blue here. Some readers might know these drives better as WD Greens, since the “Green” products were rebranded to replace the “Blue” product line a few years back.

Case and power supply
Given that an optical drive was no longer a requirement (compared to the base config), I was free to drop the be quiet! Pure Base 600 and explore a much wider variety of cases. The Pure Base 600 isn’t necessarily bad, but there are some better options available when those 5.25″ bays aren’t needed. Plus we had the luxury of looser purse strings.
Since this is one of the component segments I only follow at a pretty casual level, I first briefed myself on some of the case highlights from the year,7 making special note of brands that were seemingly able to address previous question marks I had over their cases (for example early Phanteks case designs seemed pretty hit and miss for acoustics).
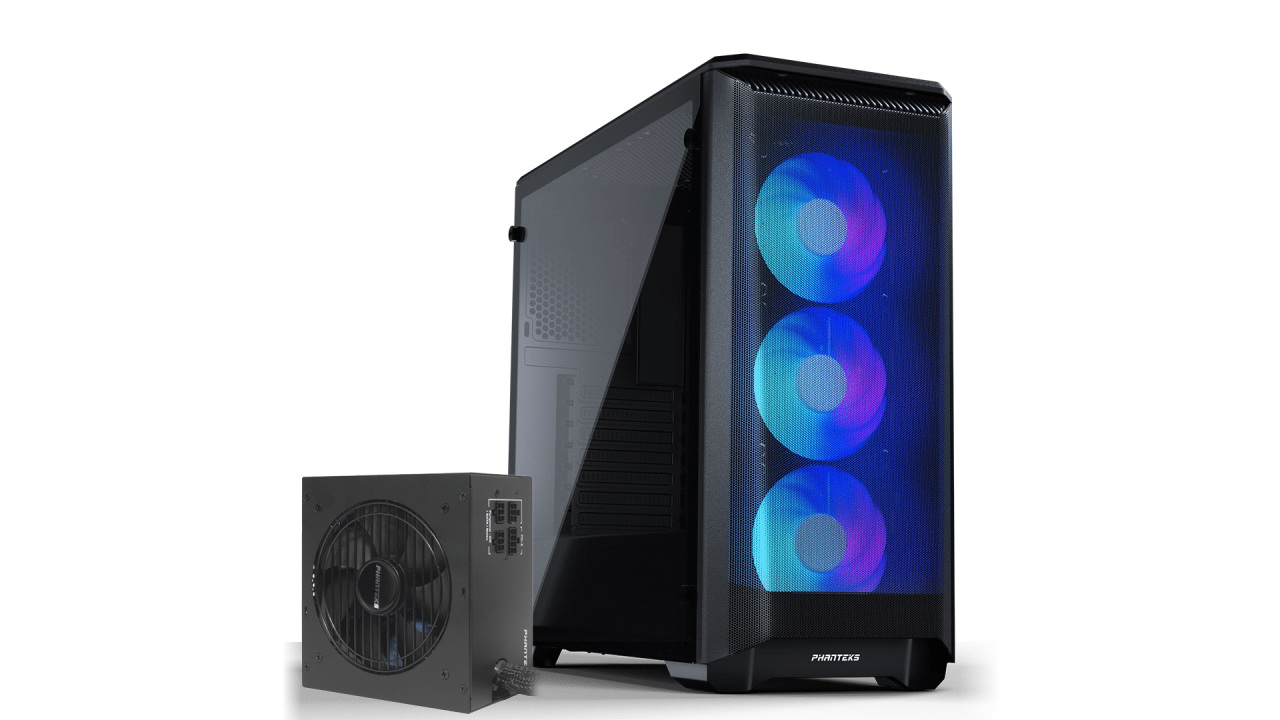
This lead me to exploring the P400A, a case I think I had honestly never heard of up until this point (again, not a close follower of the case market). I was then floored to find the P400A RGB8 in a bundle with an OEM-packaged Phanteks 750W power supply for $209.
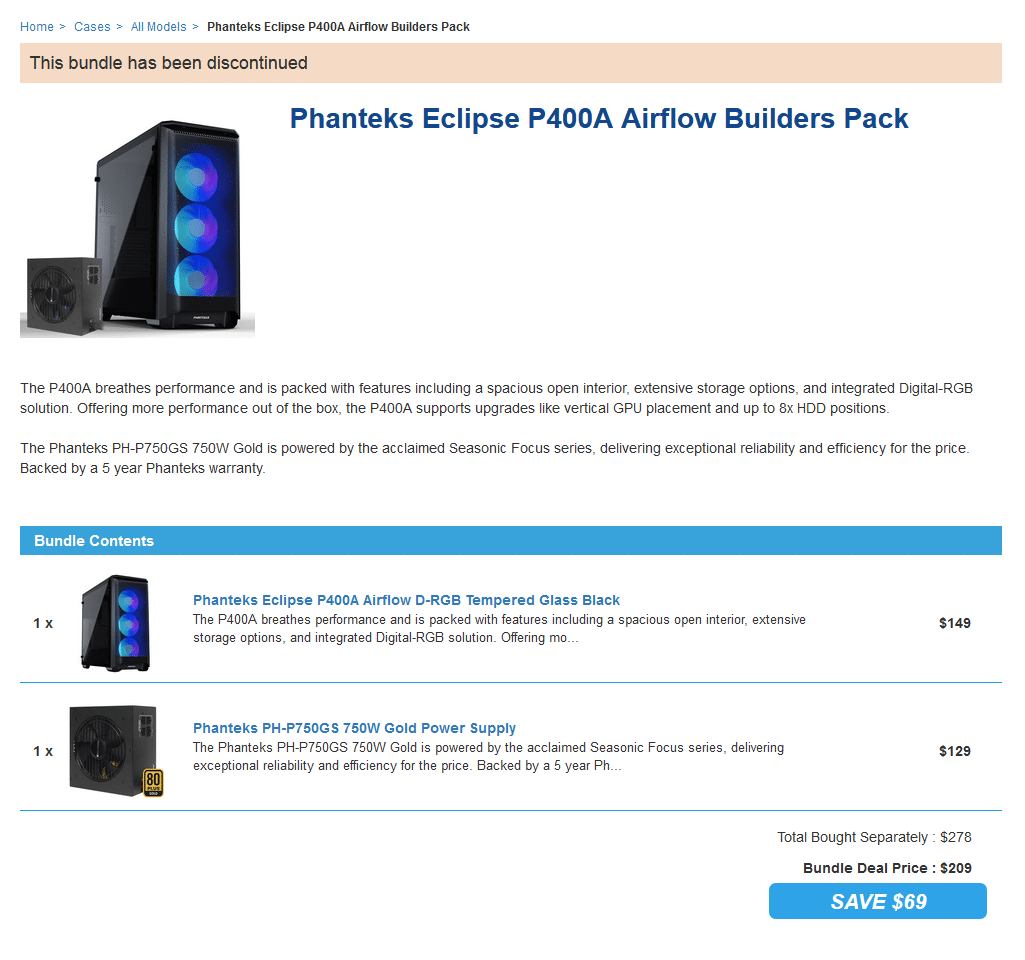
I was vaguely aware that Phanteks made a few PSUs, but wasn’t familiar enough with them to know what the PH-P750GS was or whether it was any good.
After some research, it appears it’s a straight-rebrand of Seasonic’s Focus series (not to be confused with the newer and better Focus Plus series), with Phanteks going so far as to copy the copy used by Seasonic. I guess that cuts down on the cost of using the rebrand lol.
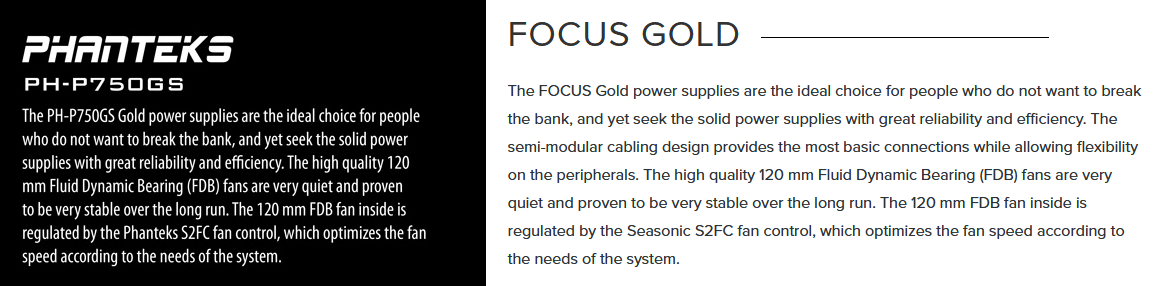
There are no reviews of the Phanteks unit itself, so I looked for reviews of the presumed same-internals Focus Gold 750W as a proxy.
Reviews of the non-plus Focus series are a little scarce, and there is never a guarantee that a rebrand PSU is an identical 1:1 copy even if they weren’t. Despite not having a direct or even close indirect review to go on, I was willing to take the plunge on the P750GS given the cost savings. The bad-case scenario was this was a mediocre gold-rated 750W PSU with average acoustics, i.e. not great, but still adequate. More likely than that we were getting a Seasonic Focus Gold 750W for what amounted to the same cost as the be quiet! Pure Power 500W.
Sold.
I still had to do some more research to make sure the case was definitely what we wanted, including the important step of checking our fan count vs fan headers on the motherboard, but ultimately everything looked good so I swapped the bundle into the build.
One last thing I wanted was actually a low-RPM rear exhaust for the P400A, as one isn’t included by default. This isn’t a strictly necessary step especially with a dual-fan air cooler near the exhaust already, but based on my internal synthesis of all of SPCR’s previous gaming builds combined with the Gamers Nexus tests on Ryzen 3000 temperature-clock scaling, I thought it was worthwhile to add.
Plausibly the CPU fans could be run at very low RPM combined with the low RPM exhaust for either better cooling at same noise levels, or lower noise levels at the same temperatures.9
Once again sorting by cost on PCCG’s 120mm fan selection, I initially picked out the $15 be quiet! Pure Wings 2, which is just the 120mm variant of the fan already in the base config. However, like with the RAM choice there was no immediate stock on hand, so after browsing alternatives I substituted the PWM version of the slightly pricier ($19) be quiet! Shadow Wings 2 – the non PWM version (also $19, oddly enough) was also out of stock.
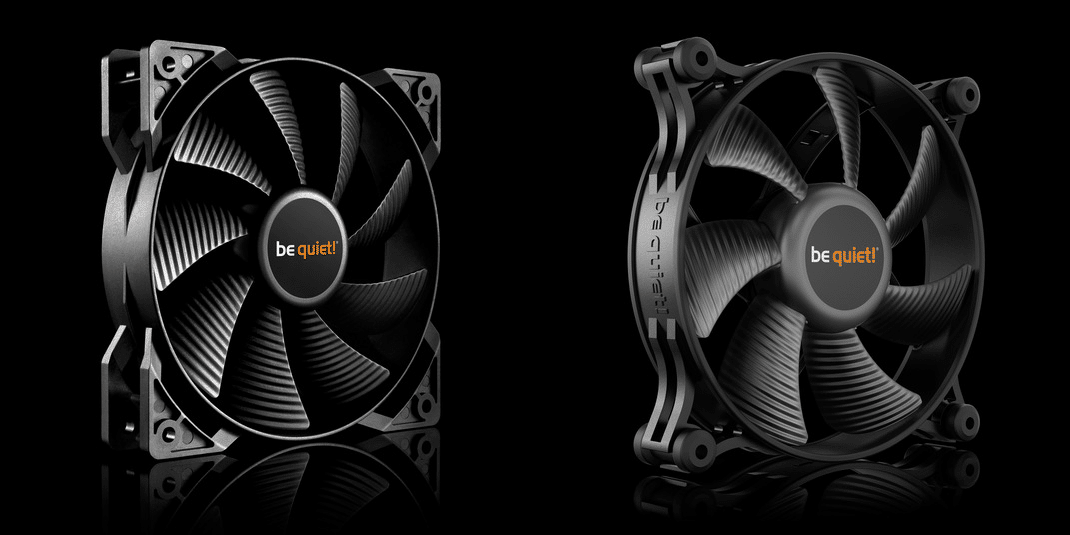
The motherboard fan headers would be consumed entirely by the P400A’s three front panel fans + the H7 Plus’ own fans (despite using a fan splitter), so this extra fan was going to have to run directly from the PSU – hence choosing something with a low max RPM to keep the noise down.
A convenient side effect of the Pure Wings 2 being out of stock was that this gave me the chance to see the Shadow Wings 2 in action, which opens me up to considering it more confidently for other builds going forward.
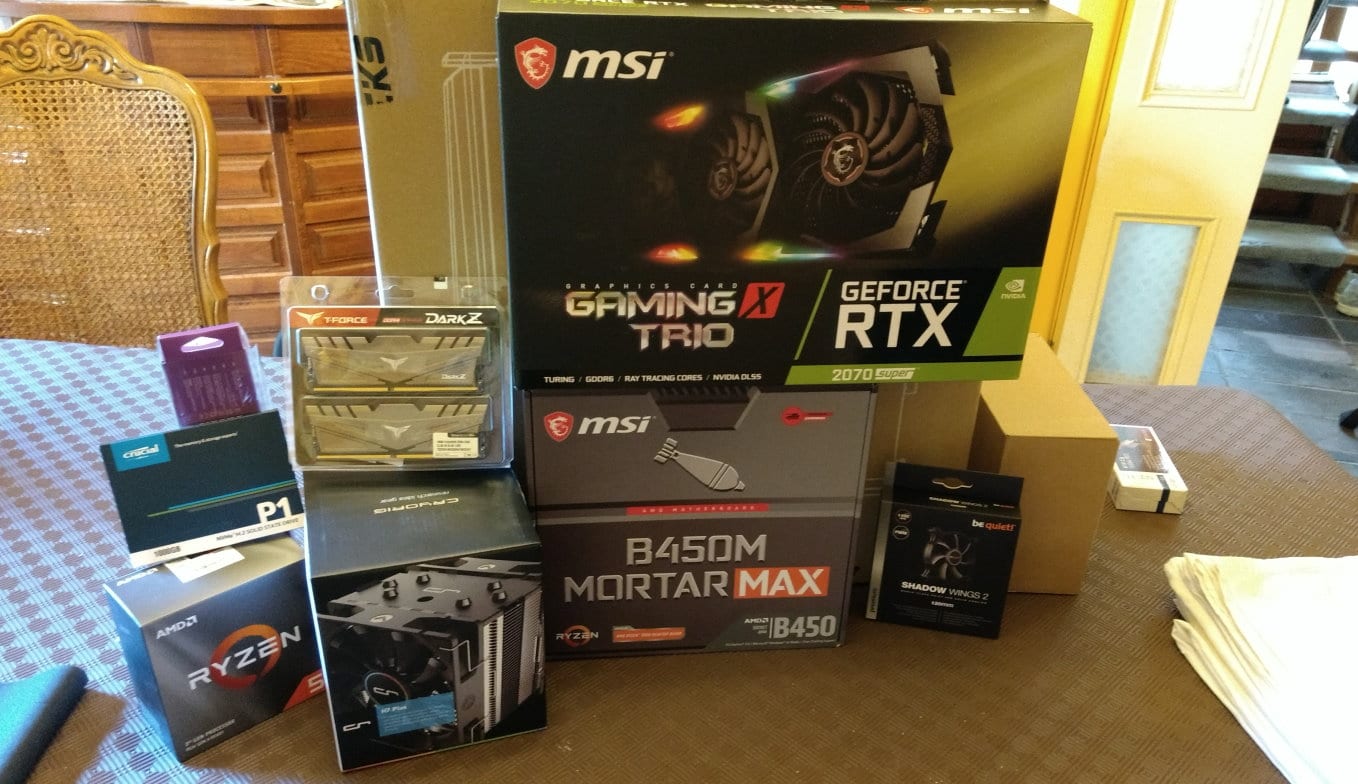
In any case, here’s what the final parts list ended up being:
| Component | Model | Cost |
|---|---|---|
| CPU | AMD Ryzen 5 3600 | $315.00 |
| CPU cooler | Cryorig H7 Plus | $69.00 |
| Motherboard | MSI B450M Mortar MAX | $145.00 |
| RAM | Team T-Force Dark Z 16GB (2x8GB) 3200MHz CL16 DDR4 Grey | $115.00 |
| GPU | MSI RTX 2070 SUPER 8GB Gaming X Trio | $889.00 |
| Primary storage | Crucial P1 M.2 NVMe 1TB | $169.00 |
| Secondary storage | None | - |
| Case | Phanteks Eclipse P400A RGB (bundle) | $109.00 |
| PSU | Phanteks PH-P750GS 750W (bundle) | $100.00 |
| Extra exhaust fan | be quiet! Shadow Wings 2 120mm PWM | $19.00 |
| TOTAL: | $1930.00 |
Build assembly
I got the call for the parts list (a literal phone call, which I think is a first as far as parts-list-requests go) Saturday afternoon, and the order was placed with PCCG a few hours later in the evening once we’d gotten everything sorted out. PCCG is closed on Sundays, so it was Monday afternoon when we picked up the parts and went back to Andrew and Michael’s place to put it all together.
With most builds where I have direct involvement in the assembly I actually look up how the case is built in and how the CPU cooler is mounted before doing the build itself. I didn’t do so in this case to save time,10 which did ironically cost us a bit of time during the build process.
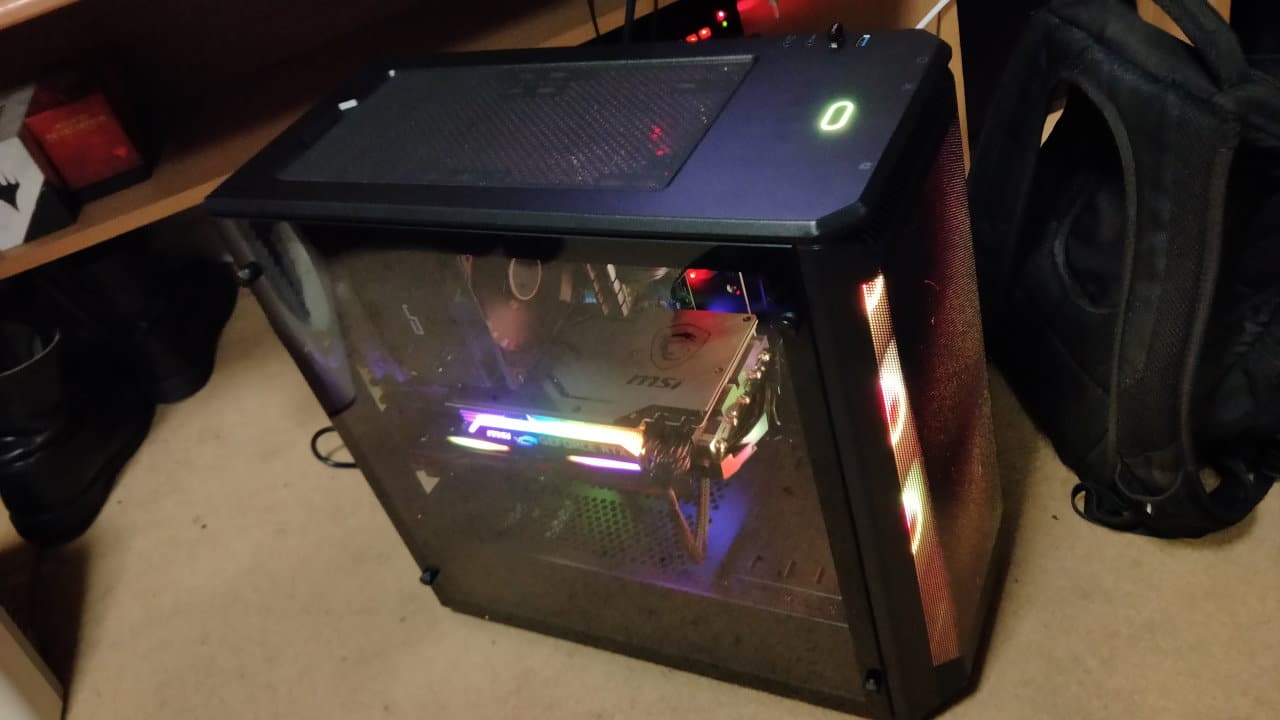
The H7 Plus has a bit of a tricky method of mounting, which when combined with the twins’ unfamiliarity with the AM4 socket caused some delays, but things generally went pretty well while we were doing the out-of-case assembly. I did a test of the core components before we moved them into the P400A11 and everything looked fine so we got to work on the case and power supply installation.
This… slowed us down significantly, as the person doing the PSU installation (Michael) was quite adamant that he would figure it out without referring to the manual. We also got thrown off a lot by the absolute mess of wires for the front panel fans, as each of them had a 3-pin fan connector sheathed within the cable-vine that was hidden beneath the right side panel, plus some monstrosity of daisy-chained power connectors to presumably do some combination of power and control the RGB LEDs of the front fans.
The cable-vine and friends

No doubt Phanteks will say that prewiring the fan cables to behind the motherboard tray is convenient for users, but in reality we found the cables are simply too short when doing so. We actually had to do some rewiring in order to get all of the 3-pin fan cables to reach all the way to their respective headers on the motherboard – which I would like to remind you is an mATX motherboard, so it’s not like we were pushing any unusual dimensions here.
Contributing to the case’s somewhat diminutive size (vs my expectations, at least) is the rather limited space between the motherboard and the top of the case, which was too small for me to be able to wire in the CPU’s 4+4 pin to the motherboard through the top cable cutouts (I couldn’t fit my hand into the space, which were the thinnest hands of anyone in the room). After a few different attempts, we resigned to just removing the CPU cooler in order to connect the 4+4 pin, which incidentally also required us removing the RAM as well (not that RAM removal or installation is especially cumbersome).
Getting the CPU cooler back in after doing that — now that most of our sight-lines to the mounting hardware were at least partially obscured — was a challenge, and there was actually a casualty during the mounting process. One of the four.. washers? screw covers? whatever you want to call part “c” in the H7 Plus installation guide.. was found on the floor after we had finished all of the physical installation and had moved on to BIOS/UEFI settings and installing Windows. It’s not a mission-critical part but man, The H7 Plus’ installation process goes from cumbersome to kinda brutal once you have to do it on a motherboard already in the case.
Closing words
In any case (haha!), we did manage to install everything eventually, including the extra 120mm fan which was hooked up to the power supply via 4-pin Molex using an adapter I brought along with me for that purpose. We moved onto BIOS and the Windows install, and while the latter chugged through I rushed home to make it just in time to a family dinner.
Later that night I relayed a few further instructions about getting AMD’s chipset drivers to ensure the Ryzen Balanced power plan was available and setting up A-XMP (MSI’s rendition of XMP on AMD platforms) to get the RAM running at its proper speeds.
With the exception of the small fumble on the GPU cooler choice (which we can consider a “confusion tax” levied onto Gigabyte, I guess), I’m overall pretty happy with the build. As mentioned a couple of times already, if this were my own build I wouldn’t have gone quite so crazy on the GPU choice, but the parts were otherwise pretty close to what I would choose if had been putting together a gaming PC for myself (and if we ignored my other use cases like video editing).
I think the biggest surprise to me during the whole build process was actually the M.2 NVMe SSD. I’ve never personally used one in a build before because they’ve only recently gotten to a price point where they make sense outside of niche use cases, and none of the laptops I’ve serviced before have used one either. Somehow this is the first time I’d ever seen held one in person, and despite knowing the slot where it has to fit onto a motherboard, I was still a little dumbstruck when I had one in my own hands.
Like wow, those things are tiny. It’s basically the inside of a long USB drive except it’s a 1TB slab of blazing fast SSD goodness. Technology really do be like that sometimes.
- ..Particularly for early readers, since this article was published before the article using the base parts list was.
- With next-gen consoles using 8-core CPUs that could reasonably stretch up to maybe 5% in future, but even that wouldn’t be great value – plus it wasn’t guaranteed performance either.
- Bear in mind the test conducted here was on a 3900X; I would expect slightly reduced scaling with a 3600 / 3600X but that’s just an educated guess.
- At least if this review wasn’t an anomaly.
- Less RAM slots can actually improve RAM overclocking results, but it’s such a minor concern for an everyday user and is almost certainly not worth the tradeoff of a far worse RAM-upgrade path due to lack of slots (which is unlikely to actually be used, but still).
- The extra few hundred bucks could be invested or used for 3-4 years and then later used for an upgraded card leading to much better long-term value.
- I also browsed comments that this video had on reddit, since that way I could explore any glaring omissions that the video may have had without actually needing detailed first hand knowledge of the case market to do so.
- Or D or D-RGB or Digital – whichever suffix you prefer.
- After completing the build I’m pretty sure the rear exhaust is actaully too close to the CPU cooler’s rear fan for these to happen though :( So in this instance it probably was not worth adding in practise, but for less than $20 (and still very minor airflow benefits) it’s by no means a costly error.
- Although having previously used the H7 Plus myself, I did have a decent understanding of that part’s installation process.
- A process which I’ve heard called “breadboarding”, but I don’t know if that’s common terminology or not.